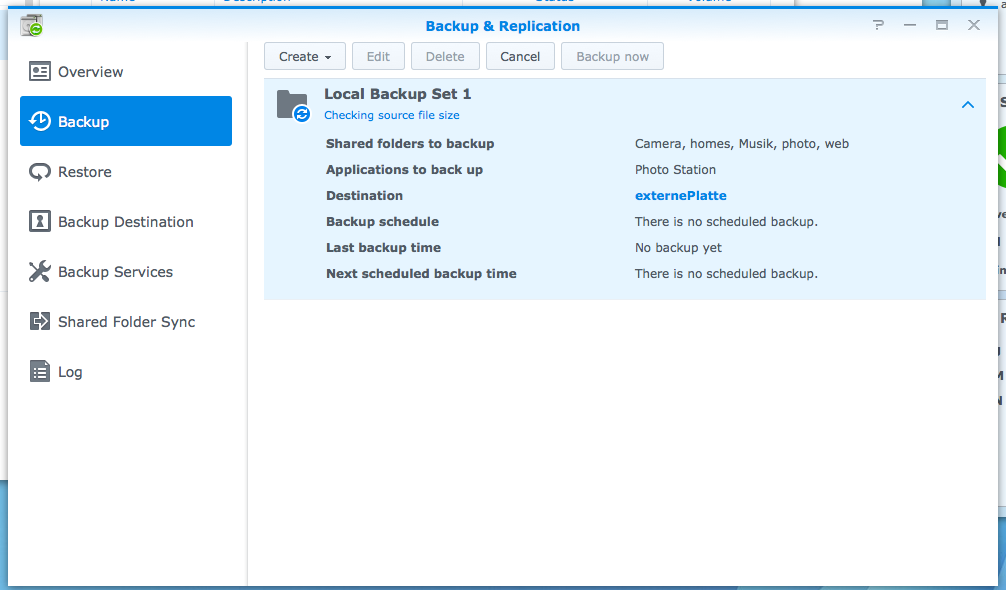
I used a Synology DS213 with two WesternDigital 2 TB-drives and RAID1 since september 2013 (?) for backup, music-storage and -remote access and for presenting my photos (via photostation). After starting the processing of analog-film strips my remaining space melted like ice in the sunshine (One 135er film as 4000dpi-HDR-scan, with intermediate results and the scaled final results takes roundabout 5 GByte!). So there was the choice to buy a completely new rack and drives and then transfer the data (safe way; old data would be never harmed; but costly) or to replace the drives one-by-one and trust on the automatic-replication of the NAS. Since I wanted to overcome my fear after that failed RAID-replication-attempt several years ago when the onboard-RAID-controller got lost and in the end NO data was restored, I chose the latter 😉
Short research in the Synology-forums revealed, that the following workflow would be possible (even with hot-swapping):
- remove first drive; replace it with the newly bought drive; insert it again
- start rebuilding via DSM-interface … wait ..
- replace the second drive with a new one; start the rebuild; wait
- after everything is finished, the spare space will be added to the volume
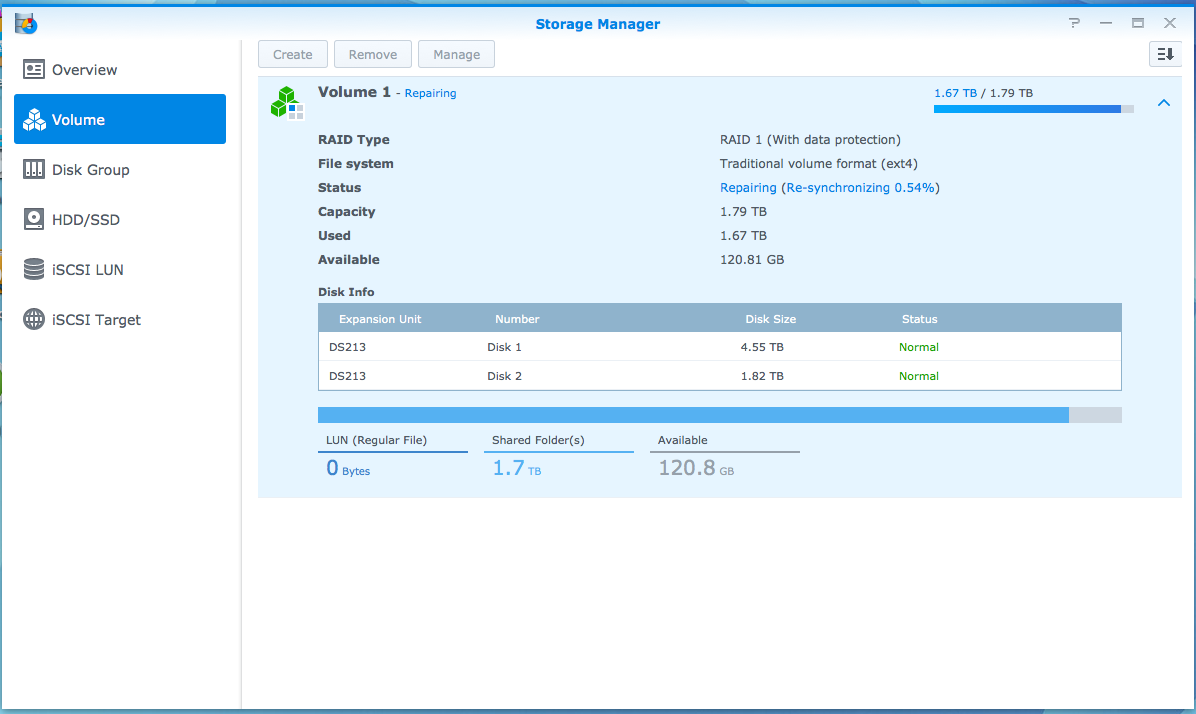
So I bought two Seagate server-ready 5 TB-drives; awaited their arrival; did the first steps and was happy that everyhing works so well (oh, by the way: I created a backup on an external hard-drive before doing any changes. Better safe than sorry 😉) and then noticed the next morning after I replaced the second drive, that the process is not finished; the DSM was talking about more than 20 “hard drive connection lost”-issues and that the RAID was declared “degraded”. Nice.
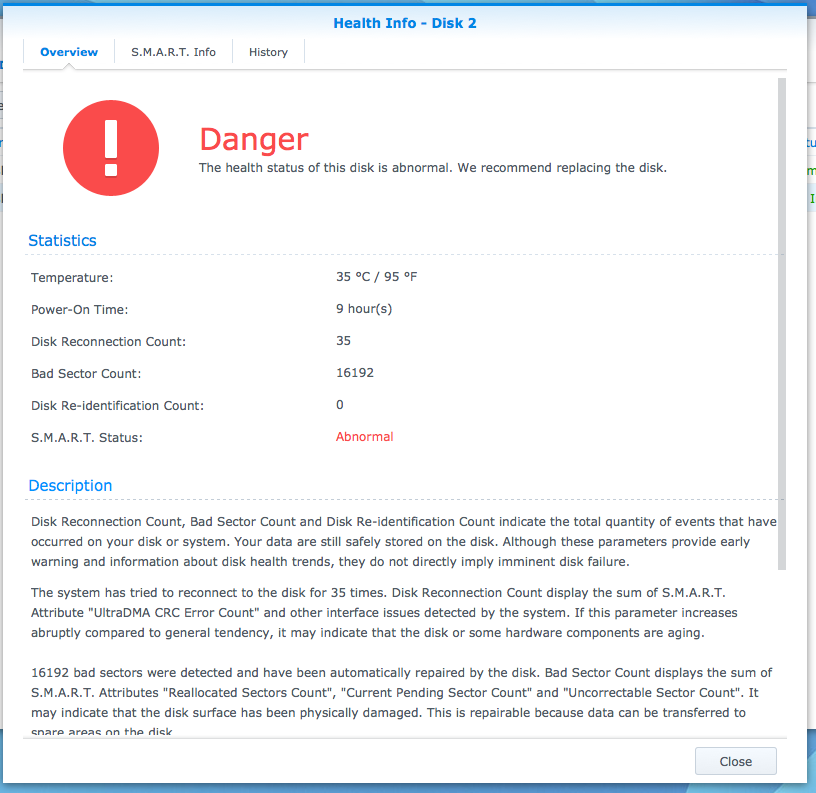
After tighening the screws and the drive once it turned out no connection-issue exists, but the drive itself is faulty. S.M.A.R.T showed an incredibly high bad sector count. YEAH! This is really the worst thing which could happen in terms of “needed time for the task”. So the seller replaced the drive without any hassle, but this took almost 12 days. During that period I was stretching my luck by running the RAID in degraded mode. Else no one would have been able to review photos 😉
So the drive arrived; I inserted it and after two and a half days (!) of replication and consitency checks the full capacity of 4.5 GB was usable. Finally.

Leave a Reply
You must be logged in to post a comment.