JavaScript
Got myself a micro:bit :)
After gaining some experience with the Calliope mini I was eager to have look over the edge of the plate and found the Sino:bit with an even bigger matrix of 144 LED. BUT: there is still the humble predecessor, the BBC micro:bit. A very original and clever project to get ALL children at school started. At a price of around 17€ what can go wrong? Give ten children one for free and even if just one turns into a programmer/software-developer (or just gains a bit insight how their favorite electronic gadgets work), then it was worth but. But what do I say as german citizen. Hello Flugtaxi :’|
I plan to get my feet into the cold and muddy waters of robotics. Of course, assembling the :move mini with the bulldozer add-on will be nothing great, but I’ve craved to find out how to control a servo and how to put some life into the boring aspects of programming. Just kidding. But blinking LED and measuring values is nice, but … I want to build my own cat-feeder. Or at least something which moves and blinks to keep them a bit attracted.
And: the micro:bit and Calliope mini feature both Bluetooth-radios, so connecting them shouldn’t be a problem.
Another advantage: somehow the given libraries for the micro:bit are more advanced and diverse than the Calliope’s, could be due to the release in 2015 versus 2017. Also: micro:bit features microPython. C not ..
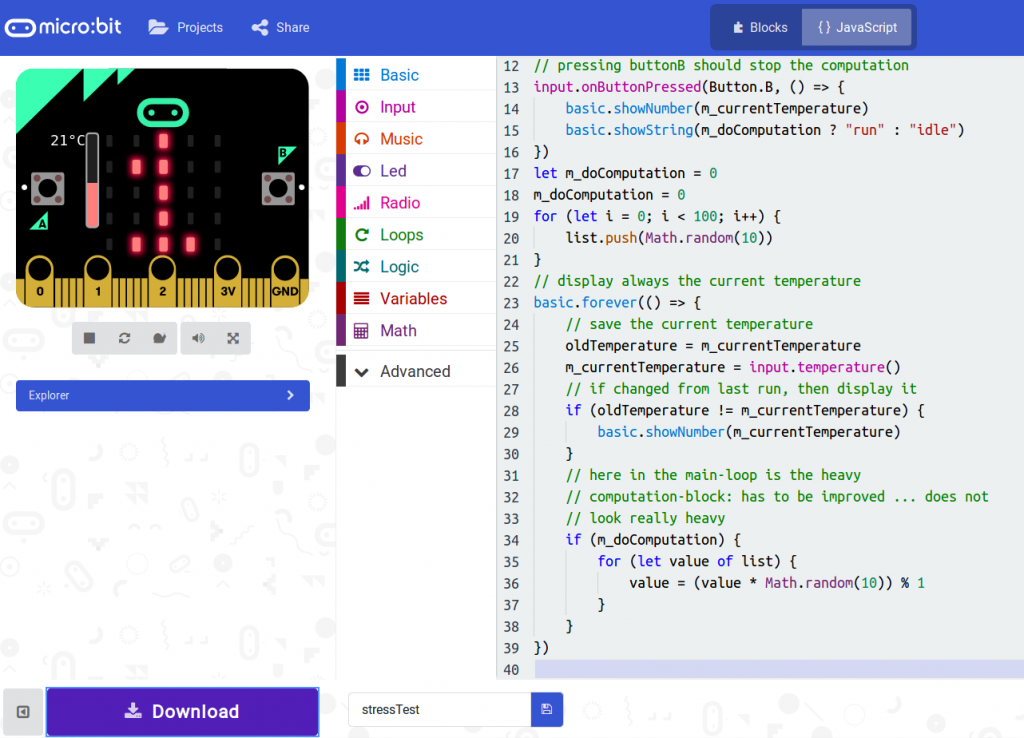
My first idea was to create a stress-test. Play a bit around with the buttons and the “run in background”-feature. Still not heating properly and fast enough.
Code is visible on my micro:bit-repository on github. Just like the one for the Calliope. Suggestions how to make the processing unit glow are heartily accepted 🙂
Let us get coding. Somehow I like the enviroment with blocks and the possibility to switch to Javascript. Not my favorite dialect, but … sometimes you have to embrace what is given to you <3
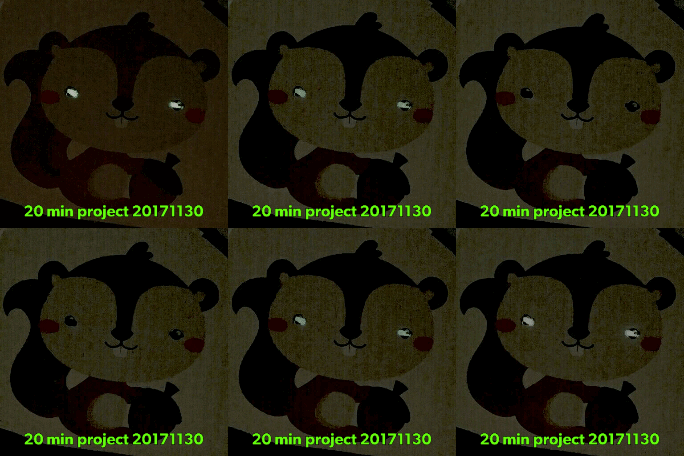
20 min-project of today: creepy squirrel
Had in mind to play around with the “make LED shine directly via PIN”-feature of the Calliope Mini. Worked, nice 🙂
Actually for both “eyes” it is randomnly picked if they shall light up (and down) separately, but the GIF can can last just 3 seconds.
|
1 2 3 4 5 6 7 8 9 10 11 12 13 14 15 16 17 18 19 20 21 22 23 24 25 26 27 |
let ledpowerinverted = 0 let pin2 = false let pin1 = false basic.forever(() => { pin1 = Math.randomBoolean() pin2 = Math.randomBoolean() for (let ledpower = 0; ledpower <= 1023; ledpower++) { if (pin1) { pins.analogWritePin(AnalogPin.P1, ledpower) } if (pin2) { pins.analogWritePin(AnalogPin.P2, ledpower) } basic.pause(2) } for (let ledpower2 = 0; ledpower2 <= 1023; ledpower2++) { ledpowerinverted = 1023 - ledpower2 if (pin1) { pins.analogWritePin(AnalogPin.P1, ledpowerinverted) } if (pin2) { pins.analogWritePin(AnalogPin.P2, ledpowerinverted) } basic.pause(2) } basic.pause(500) }) |
applied science ;3
The surface-temperature of an average ~furry lazybutt~ housecat is 24°C 😀
For this important experiment you need: a Calliope Mini, a computer science-degree and too much free time ;’)
Just kidding, the code is quite simple:
|
1 2 3 4 |
input.onButtonPressed(Button.A, () => { music.playTone(262, music.beat(BeatFraction.Whole)) basic.showString("" + input.temperature() + "°C") }) |
Jubilate deo!
Ok, today arrived the Calliope mini and after doing all my chores I spent one hour tinkering with the tiny star 🙂
An improved version of one of the suggested projects: the first part of “Ode to joy” from Beethoven together with a blasting animation. Start by pressing “A”.
|
1 2 3 4 5 6 7 8 9 10 11 12 13 14 15 16 17 18 19 20 21 22 23 24 25 26 27 28 29 30 31 32 33 34 35 36 37 38 39 40 41 42 43 44 45 46 47 48 49 50 51 52 53 54 55 56 57 58 59 60 61 62 63 64 65 66 67 68 69 70 71 72 73 74 75 76 77 78 79 80 81 82 83 84 85 86 87 88 89 |
input.onButtonPressed(Button.A, () => { basic.showLeds(` . . . . . . # . # . . . . . . # . . . # . # # # . `) music.playTone(330, music.beat(BeatFraction.Quarter)) music.rest(music.beat(BeatFraction.Half)) music.playTone(330, music.beat(BeatFraction.Quarter)) music.rest(music.beat(BeatFraction.Half)) music.playTone(349, music.beat(BeatFraction.Quarter)) music.rest(music.beat(BeatFraction.Half)) music.playTone(392, music.beat(BeatFraction.Quarter)) music.rest(music.beat(BeatFraction.Half)) music.playTone(392, music.beat(BeatFraction.Quarter)) music.rest(music.beat(BeatFraction.Half)) music.playTone(349, music.beat(BeatFraction.Quarter)) music.rest(music.beat(BeatFraction.Half)) music.playTone(330, music.beat(BeatFraction.Quarter)) music.rest(music.beat(BeatFraction.Half)) music.playTone(294, music.beat(BeatFraction.Quarter)) music.rest(music.beat(BeatFraction.Half)) music.playTone(262, music.beat(BeatFraction.Quarter)) music.rest(music.beat(BeatFraction.Half)) music.playTone(262, music.beat(BeatFraction.Quarter)) music.rest(music.beat(BeatFraction.Half)) music.playTone(294, music.beat(BeatFraction.Quarter)) music.rest(music.beat(BeatFraction.Half)) music.playTone(330, music.beat(BeatFraction.Quarter)) music.rest(music.beat(BeatFraction.Half)) music.playTone(330, music.beat(BeatFraction.Quarter)) music.rest(music.beat(BeatFraction.Half)) music.playTone(294, music.beat(BeatFraction.Eighth)) music.rest(music.beat(BeatFraction.Half)) music.playTone(294, music.beat(BeatFraction.Half)) for (let i = 0; i < 4; i++) { basic.showLeds(` . . . . . . . . . . . . . . . . . . . . . . . . . `) basic.showLeds(` . . . . . . . . . . . . # . . . . . . . . . . . . `) basic.showLeds(` . . . . . . . # . . . # . # . . . # . . . . . . . `) basic.showLeds(` . . # . . . # . # . # . . . # . # . # . . . # . . `) basic.showLeds(` . # . # . # . . . # . . . . . # . . . # . # . # . `) basic.showLeds(` # . . . # . . . . . . . . . . . . . . . # . . . # `) } basic.showLeds(` . . . . . . . . . . . . . . . . . . . . . . . . . `) }) |
360° panorama: quick and easy
The ‘magic’ behind 360° panoramas is nothing new. I remember stitching together manually the pictures from the Canon Ixus 800, later switching to AutoStitch and other solutions. But after I used Google Kamera as replacement for the pre-installed camera-app on the smartphone and also acquired a cheap 10€-cardboard I had a jaw-dropping moment of enlightment: wow! This is amazing. And to whomever I showed this (techies, friends, parents, ..) they were also impressed. A freely explorable panorama with head-mounted gear is soo much much descriptive of the scene than the regular 2D-photos. Yes, I still stick to analogue photography, but If you want to show somehow how the sights looked and how the surrrounding environment looked like, then stick to a panorama. Creating them is quite is, but this is a different story.
Too cut it short: I was always looking for a way to present those views also to people far away. Which don’t have a smartphone. Jeremy Heleine created with his Photo Sphere Viewer a truly amazing in browser-javascript-library. I just added some of my own examples (in a pretty bad boilerplate-way *cough*). But this is still great! I love it.
Want to visit Brüssel, Leipzig, Kiel, Wismar or Göteborg?

