For an investment of 80-90 minutes time I am quite happy about the result and amazed what sohisticated capabilites are offered at some really easily accessible level.
What has been achieved so far?
* setting up a working Arduino Studio 1.8.5-environment with ESP32-toolchain on a Win7-laptop (not my favorite, but Linux-PC was blocked)
* setting proper options to the IDE to make the examples compile and upload via serial to the board; learn how to use the integrated serial-monitor
* finding the proper PIN-setup for the MAX7219-LED-display (just one module – for now) and setting up the library
* playing around with the WiFi-functionality (scanning for networks)
* putting both tasks (network scan and led-output) together and running into the first “I need threads”-pit
[Video was taken at an early stage: a static string is displayed.]
Of course, THIS is nothing, just the very first tiny baby-step. Everyone is able to achieve this, because almost no creativity needs to be invested.
But: configuring all the necessary tools was already a pain in the ass. Of course, just read the manual(s) [..]
But this is not a “unwrap and press start”-toy, so the learning-curve was steeper than expected.
But I did it. And I look forward. Especially to put some threaded application on the MCU, because – why just run one thread, when you can have two? 😉
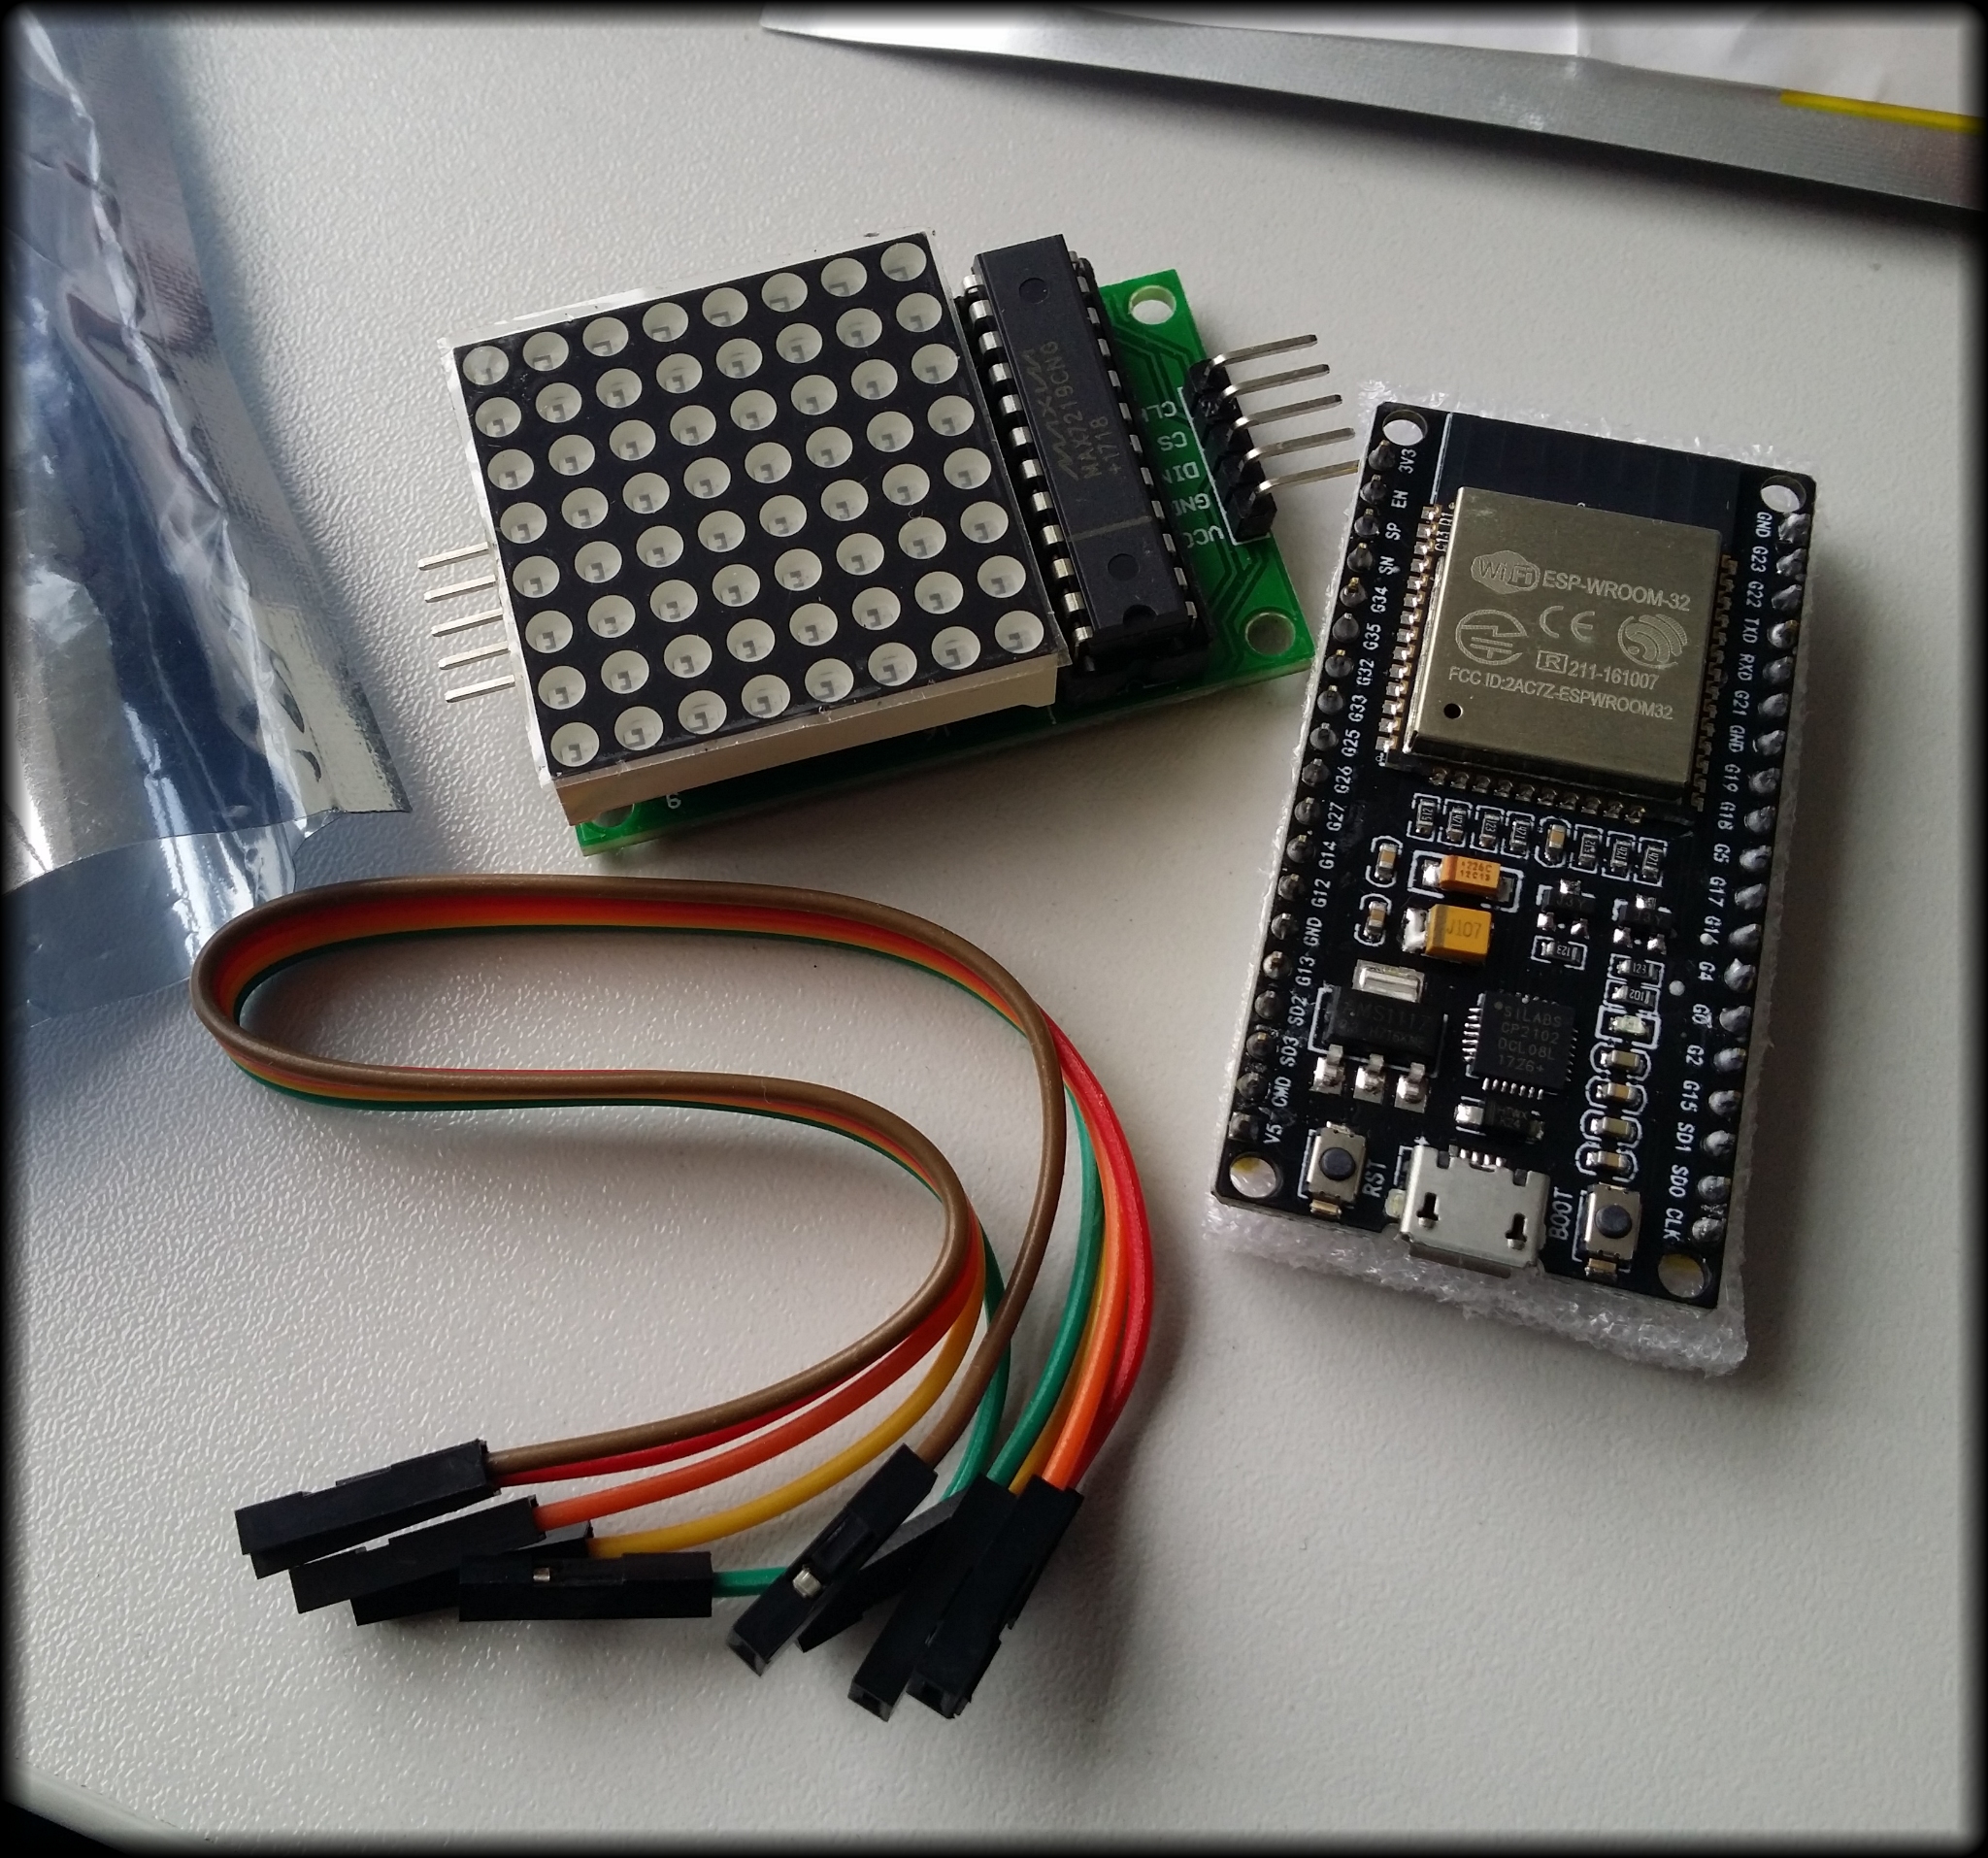
 [The MAX7219 and the ESP32-dev-board from MakerHawk hours before the first test run. Battery pack not included.]
Leave a Reply
You must be logged in to post a comment.